 跳到内容
跳到内容 As solar technology becomes increasingly popular, more RV owners are opting to install solar panels to achieve green energy independence on the road. A critical factor in the installation process is the choice of solar panel brackets — the hardware that securely mounts solar panels to various surfaces. This article explores whether a 2 inch tall Z bracket is suitable for mounting solar panels on an RV roof, providing a comprehensive guide to help you make an informed decision.

What Are Solar Panel Brackets?
Solar panel brackets are mounting structures designed to fix solar panels securely onto surfaces such as roofs, boats, or RVs. They ensure the panels remain stable and positioned at an optimal angle for maximum sunlight exposure.
Among various types, the Z bracket is named for its distinctive “Z” shape, making it a popular choice for small solar panels, especially on uneven surfaces like RV roofs.
Features and Advantages of 2 Inch Tall Z Brackets
Design and Material
- Size: Typically, a 2 inch tall Z bracket measures about 4-5 inches in length, 2 inches in height, and 2-3 inches in width.
- Material: Usually made from aluminum alloy (such as 6005-T5), with anodized coating for corrosion resistance and durability in outdoor environments.
- Weight: Lightweight design reduces the load on the RV roof while maintaining sufficient strength.
Easy Installation
- Z brackets come with standard pre-drilled holes compatible with most solar panel frame bolt patterns, using M6 bolts or similar fasteners.
- Designed for DIY-friendly installation, often including screws and washers for quick setup.
Wide Application
- Ideal for solar panels ranging from 50W to 200W, commonly used on RVs, boats, and other limited-space or irregular surfaces.
- Allows some angle adjustment to optimize solar exposure and improve efficiency.
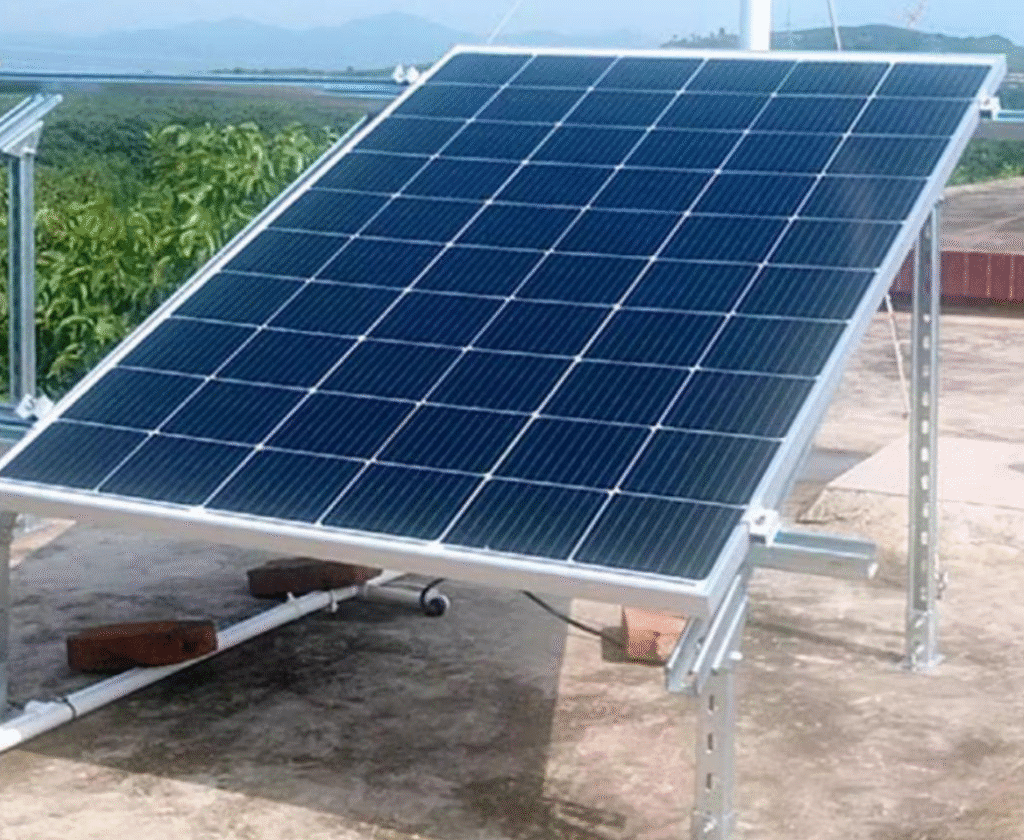
Feasibility of Using 2 Inch Tall Z Brackets on RV Roofs
Advantages
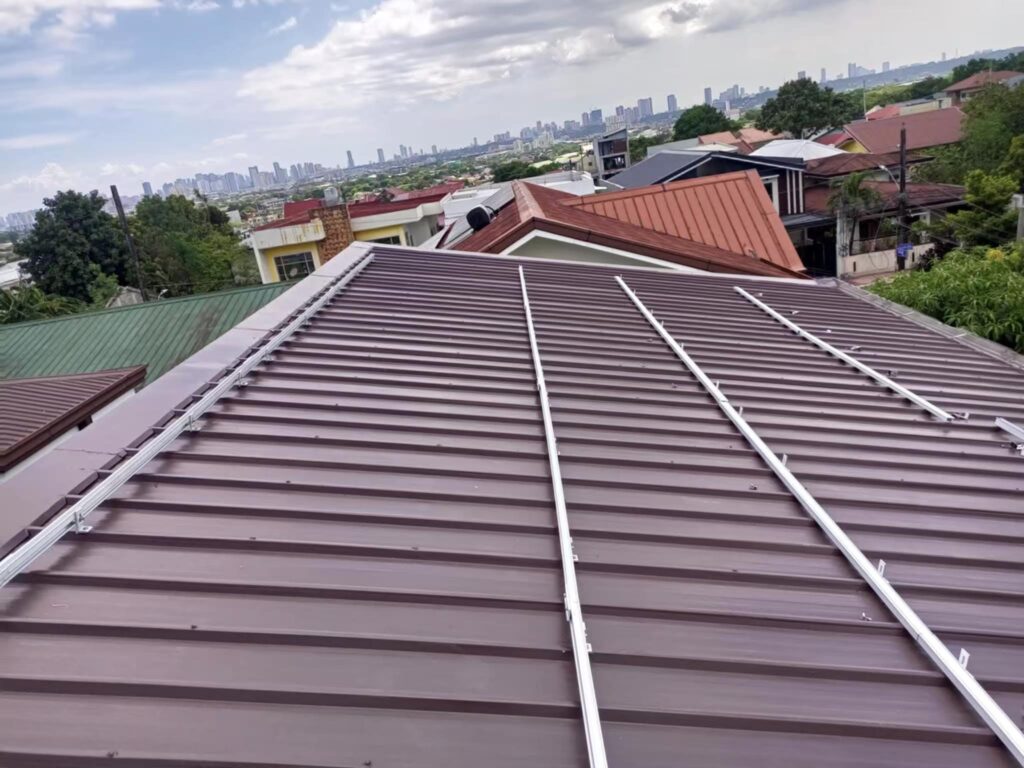
- Stability: The 2 inch height provides adequate clearance between the solar panel and the RV roof, improving ventilation and moisture prevention.
- Wind and Snow Resistance: High-quality aluminum and robust design can withstand significant wind and snow loads, ensuring long-term stability.
- Adaptability to Irregular Surfaces: The Z shape accommodates uneven RV roof surfaces, ensuring a secure fit.
- Lightweight: Does not add excessive weight to the RV, preserving vehicle performance.

Considerations
- Panel Power Limit: Best suited for solar panels up to about 200W; higher wattage panels may require more robust or multiple mounting points.
- Number of Brackets: At least four Z brackets per solar panel are recommended for secure attachment.
- Waterproofing: Proper sealing around mounting holes is essential to prevent leaks.
- Wind Load: In high-wind areas, verify that brackets and fasteners meet the necessary wind resistance standards.
Comparison: 2 Inch Z Brackets vs. Other Bracket Types
| Feature | 2 Inch Tall Z Bracket | L Bracket | Flat Mount Bracket |
|---|---|---|---|
| Height | ~2 inches, moderate clearance | Usually under 1 inch | Very low, almost flush mount |
| Best Use Case | RV roofs, small panels, boats | Flat roofs, wall mounts | Flat roofs with limited space |
| Installation Ease | Easy, compatible with many panels | Easy but less adaptable to uneven surfaces | Easiest, but no angle adjustment |
| Weight | Lightweight aluminum alloy | Lightweight aluminum alloy | Lightweight aluminum alloy |
| Corrosion Resistance | High (anodized aluminum) | High (anodized aluminum) | High (anodized aluminum) |
| Angle Adjustment | Supports some angle adjustment | Usually no angle adjustment | No angle adjustment |
| Suitable Panel Power | 50W-200W | 50W-150W | 50W-100W |
| Price | Moderate | Lower | Lower |
Why Choose a 2 Inch Tall Z Bracket?
- Versatility: Compatible with most standard framed solar panels, especially on uneven surfaces like RV roofs.
- Ease of Installation: Comes with complete hardware kits, suitable for both DIY and professional installers.
- Durability: Made from anodized aluminum to resist corrosion and UV damage.
- Cost-Effective: Simple design reduces cost and maintenance compared to more complex mounting systems.
How to Properly Install 2 Inch Tall Z Brackets on an RV Roof
- Gather Tools and Materials: Z brackets, bolts, washers, waterproof sealant, drill, wrench, screwdriver.
- Mark Mounting Locations: Based on solar panel size and RV roof structure, mark where holes will be drilled.
- Attach Brackets to Solar Panel: Secure the Z brackets to the solar panel frame using the supplied bolts.
- Mount Panel to Roof: Position the panel on the RV roof and secure the brackets to the roof using self-tapping screws or expansion bolts.
- Seal Mounting Holes: Apply waterproof sealant around drilled holes to prevent leaks.
- Check Stability: Ensure all bolts are tight and the panel is firmly fixed without movement.
- Complete Electrical Connections: After mechanical installation, connect the solar panel wiring safely.
Conclusion
Using a 2 inch tall Z bracket to mount solar panels on an RV roof is a safe, economical, and effective solution. It accommodates uneven surfaces, provides sufficient clearance for ventilation, and supports small to medium solar panels securely. Proper installation and waterproofing are essential to ensure longevity and performance.
For high-quality solar panel brackets and professional support, visit our website at [cchannelsteel.com]. We offer a wide range of solar mounting solutions tailored to your needs.
Appendix: Common Solar Panel Bracket Specifications Comparison
| Brand/Model | Material | Height (inches) | Suitable Panel Power | Corrosion Protection | Application | Warranty |
|---|---|---|---|---|---|---|
| CChannelSteel 2″ Z Bracket | Aluminum 6005-T5 | 2 | 50W-200W | Anodized | RV roofs, boats, walls | 10 years |
| Renogy Z Bracket Set of 4 | Aluminum | ~2 | ≤200W | Anodized | RV, boats, rooftops | 1 year |
| BougeRV Z Bracket Kit | Aluminum | ~2 | 50W-600W | Anodized | RV, boats, non-residential roofs | 18 months |
| Tricky Lizard 2″ Z Bracket | Aluminum | 2 | 50W-200W | Anodized | Various applications | Not disclosed |
For custom orders or bulk purchases, contact our expert team for tailored solutions and competitive pricing.
