 跳到内容
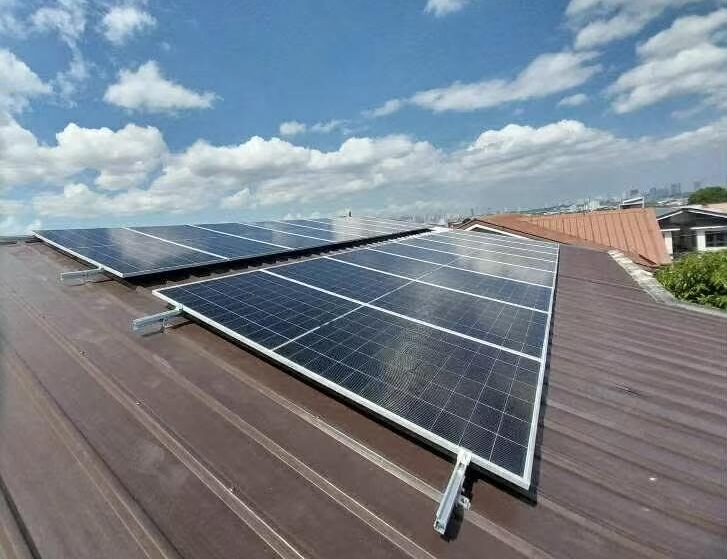
跳到内容 Installing solar panels is a significant investment that requires careful planning and execution to ensure maximum efficiency, safety, and durability. One of the most critical components in any solar installation is the mounting bracket system. These brackets provide the structural support necessary to securely hold solar panels in place, maintain the correct tilt angle, and withstand environmental stresses such as wind, snow, and temperature fluctuations.
This comprehensive guide will explore in detail how to install solar panel mounting brackets, covering everything from the types of brackets, tools and materials needed, step-by-step installation procedures, maintenance tips, and troubleshooting common issues. The article is optimized for the keyword solar panels and references the expertise and product offerings of cchannelsteel.com, a trusted supplier of high-quality solar mounting hardware.

Understanding Solar Panel Mounting Brackets
Solar panel mounting brackets are the hardware components that attach solar panels to various surfaces such as roofs, poles, or ground mounts. They are designed to secure the panels firmly while allowing for optimal orientation and tilt to maximize solar energy capture.
Types of Solar Panel Mounting Brackets
There are several types of mounting brackets, each suited to different installation scenarios:
- Z Brackets: Named for their “Z” shape, these are simple, lightweight brackets commonly used for small to medium solar panels, especially on RVs, boats, or flat surfaces.
- L Brackets: Right-angle brackets that provide strong, fixed mounting solutions, often used for residential or commercial rooftops.
- Rail Mount Systems: These involve aluminum rails fixed to the roof or ground, onto which panels are clamped. They are scalable and support multiple panels.
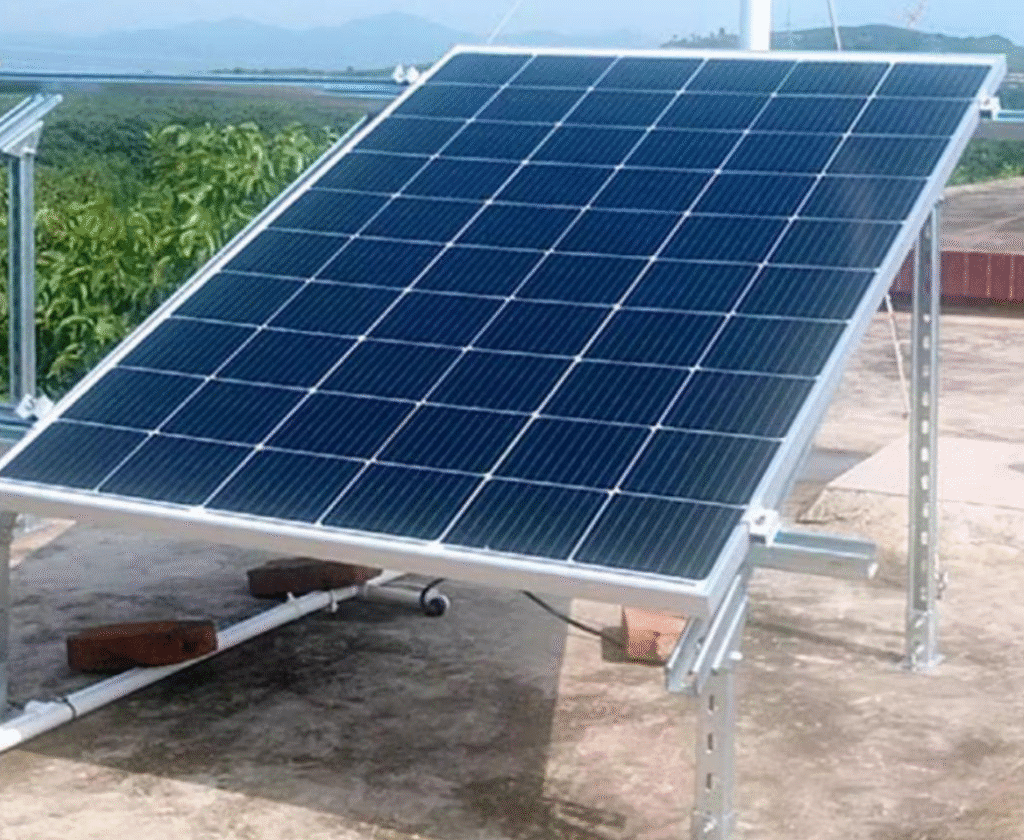
- Adjustable Tilt Brackets: Designed to allow seasonal or situational adjustment of the panel tilt angle to optimize energy production.
- Corner and Side Clamps: Used to secure panels without drilling, often in mobile or temporary installations.
Each type has its own installation requirements, advantages, and limitations.
Tools and Materials Required for Installation
Before beginning the installation, gather the following tools and materials:
- Solar panel mounting brackets (appropriate type for your installation)
- Stainless steel bolts, nuts, washers, and lock washers
- Electric drill with appropriate drill bits
- Screwdrivers, wrenches, or socket sets
- Measuring tape and level or laser level
- Sealant or flashing materials for waterproofing roof penetrations
- Safety gear such as gloves and eye protection
- Cleaning supplies such as alcohol wipes or mild detergent
Detailed Step-by-Step Installation Guide
1. Site and Surface Preparation
- Inspect the mounting surface for structural soundness and flatness.
- Remove any debris, dirt, or grease to ensure a clean working area.
- Identify any obstacles such as vents, chimneys, or antennas that may interfere with panel placement.
2. Measuring and Marking Bracket Locations
- Measure the solar panel dimensions and mark the bracket locations on the mounting surface.
- Use a level or laser level to ensure accurate alignment.
- Maintain consistent spacing between brackets to distribute panel weight evenly.
3. Drilling and Fastening Brackets
- Drill pilot holes at the marked locations using the correct drill bit size.
- If mounting on a roof, apply sealant around the holes to prevent leaks.
- Secure the brackets using stainless steel hardware, tightening bolts to manufacturer specifications.
- Avoid overtightening to prevent damage to panels or brackets.
4. Attaching Solar Panels to Brackets
- Place the solar panels onto the mounted brackets, aligning the mounting holes.
- Use the provided hardware to secure the panels firmly.
- Check for proper fit and stability.
5. Adjusting Tilt Angle (If Applicable)
- Set the tilt angle based on your geographic location and seasonal optimization.
- Use adjustable brackets or shims to achieve the desired angle.
- Secure all adjustment points firmly.
6. Wiring and Final Checks
- Route wiring safely, securing cables to prevent abrasion or damage.
- Connect panels to charge controllers or inverters.
- Test electrical output and inspect mechanical stability.
Types of Mounting Brackets and Their Applications
| Bracket Type | Material | Tilt Adjustable | Load Capacity | Suitable Surfaces | Pros | Cons | Cost Range |
|---|---|---|---|---|---|---|---|
| Z Brackets | Aluminum | No | Medium | RV roofs, boats, flat roofs | Lightweight, easy to install | Fixed angle, small panels only | $10–$40 per set |
| L Brackets | Aluminum/Stainless | No | Medium | Roofs, poles, RVs | Strong, simple design | Requires drilling, fixed angle | $10–$40 per bracket |
| Rail Mount Systems | Aluminum | Optional | High | Residential/commercial roofs | Scalable, supports multiple panels | Complex installation, higher cost | $80–$250+ per kit |
| Adjustable Tilt Brackets | Aluminum/Steel | Yes | High | Roofs, ground mounts | Maximizes energy yield | More expensive, complex install | $40–$120 per set |
| Corner/Side Clamps | Plastic/Aluminum | No | Medium | RVs, boats, sheds | Drill-free, clean look | Lower strength, less durable | $20–$60 per set |
Installation Best Practices
- Always use corrosion-resistant hardware such as stainless steel.
- Ensure the mounting surface is structurally sound and capable of supporting the solar array.
- Maintain proper spacing and alignment to allow for thermal expansion and contraction.
- Apply waterproof sealants and flashing to all roof penetrations.
- Follow manufacturer torque specifications to avoid damaging hardware or panels.
- Inspect mounting hardware regularly and perform maintenance as needed.
- Comply with local building codes and regulations.
Troubleshooting Common Installation Issues
| Issue | Cause | Solution |
|---|---|---|
| Loose panels | Improper fastening or vibration | Tighten bolts, use lock washers |
| Water leaks | Poor sealing at penetrations | Apply sealant, install flashing kits |
| Panel misalignment | Uneven bracket installation | Re-measure and adjust bracket positions |
| Corrosion | Use of non-stainless hardware | Replace with stainless steel hardware |
| Electrical connection issues | Damaged connectors or wiring | Inspect and replace damaged components |
Maintenance Tips
- Conduct annual inspections of all mounting hardware.
- Clean panels and mounting surfaces to prevent dirt buildup.
- Retighten bolts and fasteners as necessary.
- Replace any corroded or damaged components promptly.
- Verify electrical connections and wiring integrity regularly.
Why Choose CChannelSteel.com?
cchannelsteel.com offers a broad range of solar panel mounting brackets and accessories engineered for durability, corrosion resistance, and ease of installation. Our products cater to residential, commercial, and mobile solar applications.
Advantages of choosing us include:
- High-quality aluminum and stainless steel brackets
- Custom fabrication services for unique installation needs
- Competitive pricing and bulk order discounts
- Expert technical support and installation guidance
- Fast shipping and reliable customer service

Conclusion
Installing solar panel mounting brackets correctly is vital for a safe, efficient, and durable solar energy system. Whether you use simple Z brackets for an RV or a comprehensive rail system for a residential roof, following best practices ensures your solar panels are stable and optimally positioned.
For trusted mounting hardware and expert support, rely on cchannelsteel.com to provide solutions tailored to your solar installation needs.
